Muscle Tissue Study Guide Using Pattern Clues
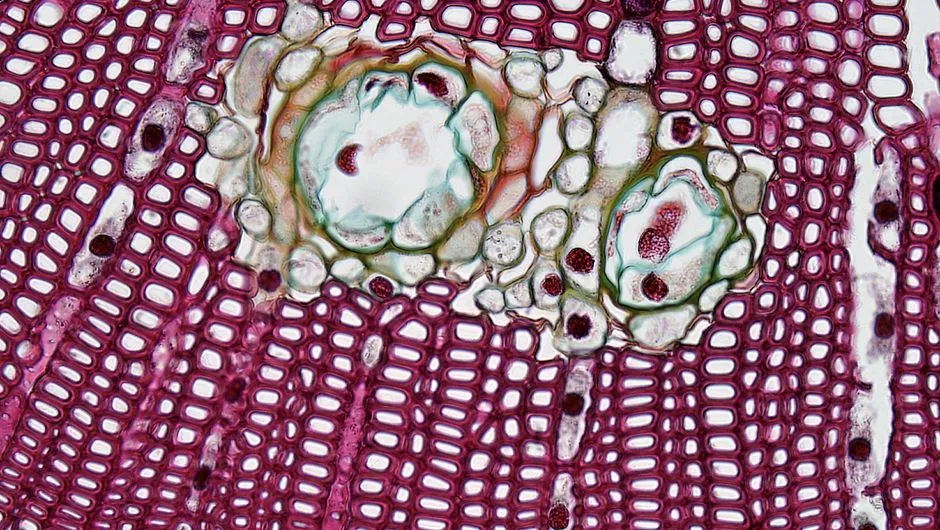
Find the dominant direction
Muscle tissue on approved prepared teaching slides is recognized through cell shape, arrangement, nuclei, visible banding when resolved, and the relationship among fibers. Never collect or prepare human or animal muscle for casual microscopy. A classroom observation must never diagnose disease, injury, fitness, or health; real-tissue questions belong to a qualified pathologist through the institution's procedure. Start at low power through the histology orientation workflow and locate a region that is not folded, torn, or mostly connective tissue.
This is educational pattern recognition. A classroom slide cannot diagnose muscle disease, injury, fitness, or any person's health.
Compare longitudinal and cross sections
Longitudinal sections show cells or fibers along their length; cross sections show profiles cut across them. Oblique sections sit between these views and can confuse every clue. Determine section direction before naming a muscle category.
In cross section, long fibers may look round or polygonal. In longitudinal view, the same tissue may look like parallel bands. The tissue identity is unchanged, but the section plane changes the visible pattern.
Evaluate striations carefully
Visible repeated cross-banding can support striated muscle in a suitable longitudinal preparation, but absence of visible striations is not decisive. Focus, stain, section quality, objective, and orientation affect whether banding resolves.
Do not mistake folds, scratches, or compression lines for striations. True banding should relate consistently to multiple fibers and persist through careful focus.
Record nuclei and branching
Describe nuclei by apparent number, position, and shape only where cell boundaries permit interpretation. A thin section may miss nuclei or cut one cell more than once. Do not count nuclear profiles as a direct count of whole cells.
Branching fiber patterns and cell-to-cell junction features may support a cardiac teaching-slide interpretation when several clues agree. Long parallel fibers with appropriate striation and nuclear pattern may support skeletal muscle. Spindle-like cells without resolved striation may support smooth muscle in a suitable section.
Use instructor-approved course references and the unknown-slide workflow rather than one clue.
Compare neighboring tissue
Look for connective tissue partitions, vessels, lumens, or organ architecture around the muscle. Context helps, but it must not replace direct muscle evidence. A muscular wall around a lumen may be cut in several directions within one slide.
The nervous tissue guide helps contrast long muscle profiles with branching neural preparations and dense fields of supporting-cell nuclei.
At higher power, keep one low-power landmark in your notes so an isolated fiber profile remains connected to the bundle, wall, or tissue region it came from.
Build a three-column record
For skeletal, cardiac, and smooth candidates, list cell or fiber shape, branching, striation, nuclei, section direction, and architecture. Mark every clue as observed, not resolved, or contradicted. This prevents an unresolved feature from being counted as supporting evidence.
If preparation quality hides a discriminator, keep the identification broad. “Striated muscle, subtype uncertain” is stronger than a confident guess built on an artifact.
State the limits
Record stain, objective, slide label status, artifacts, and reference used. Explain which clue group carried the conclusion and which could not be evaluated.
Muscle identification becomes persuasive when orientation, fiber shape, banding, nuclei, branching, and context agree across more than one field. The name comes last; the visible pattern earns it.
An independent publication. Not affiliated with any prior owner of this domain.